Audi Q5: Repair Information
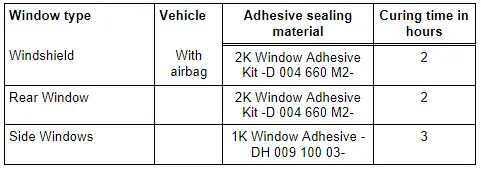
Minimum Curing Time for Bonded Windows
 WARNING
- For safety reasons, use only electrically non-conductive 2K-adhesive when installing windshield and rear window using the materials listed below.
- The vehicle can only be used after the minimum curing time has elapsed.
Window Glass, Servicing
Special tools and workshop equipment required
- Window Repair Kit -VAS1993- or -VAS6092-
 Note
Note
- Windshields with stone chips can be repaired with the Window Repair Kit -AS 6092- and the Repair Resin, Talon -VAS1993/2-.
- These damaged areas must not exceed a certain dimension or lie within the driver field of sight.
- For further details on use, refer to operating instructions enclosed with each kit.
Bonded Window Glass Installation Instructions
Special tools and workshop equipment required
- Cutting Tool for Bonded Windows -VAS6452-
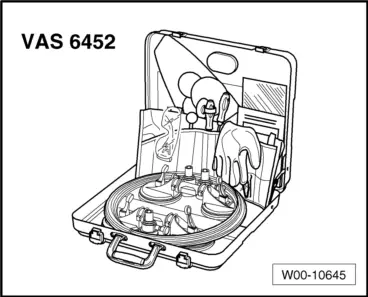
- Cutting Tool for Bonded Windows - Wire Reel -VAS6452/1-
- Cutting Tool for Bonded Windows - Wire -VAS6452/2-

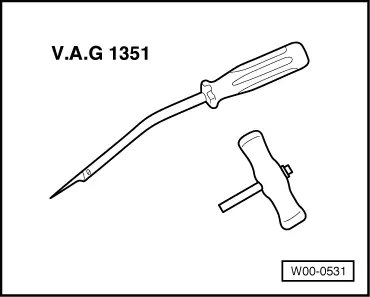
- Bonded Window Tool Kit -VAG1351-
- Bonded Window Tool Kit - Pull Handle -VAG1351/1-
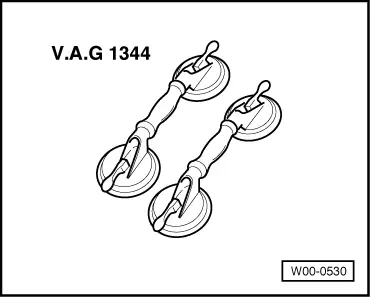
- Double Suction Lifter -VAG1344-
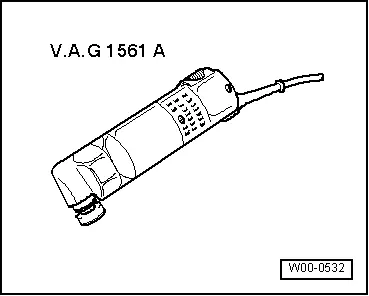
- Window Cutter -VAG1561A-
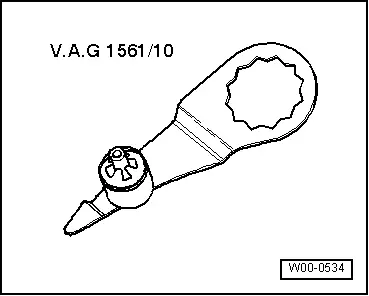
- Blade, Offset -VAG1561/10-
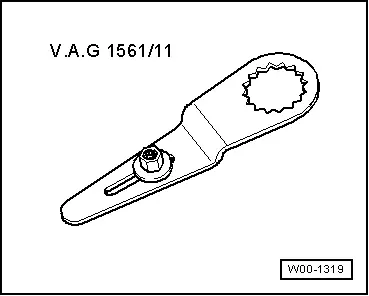
- Window Cutter - Universal Blade (2 pc.) -VAG1561/11-
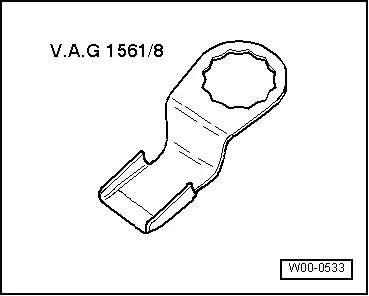
- Window Cutter - Scraper (2 pc.) -VAG1561/7+8-
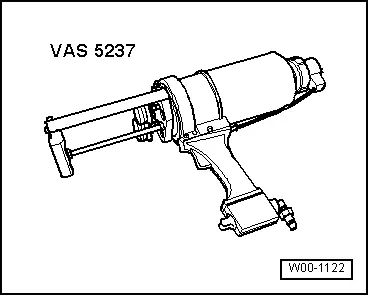
- Double Cartridge Gun -VAS5237-
- Cartridge Gun -VAG1628-

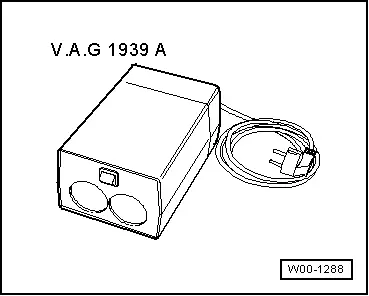
- Cartridge Heater -VAG1939A-
Materials
- 2K Window Adhesive Kit -D 004 660 M2- → Note
- 1K Window Adhesive -DH 009 100 03- → Note
- Glass-/Paint Primer -D 009 200 02-
- Cleaning Solution -D 009 401 04-
- Applicator -D 009 500 25-
- Adhesive Remover -D 002 000 10-
- Cutting Tool for Bonded Windows - Wire -6452/2- or Cutting Wire -357 853 999-
1) Observe the minimum curing time. Refer to → Chapter "Minimum Curing Time for Bonded Windows".
2) To apply this material the Double Cartridge Gun -VAS5237- must be used.
3) Heat according to manufacturer's instructions using Cartridge Heater - VAG1939 A-.
4) Small cartridge (110 ml) for sealing and/or when a 400 ml double cartridge is not sufficient.
Adhesive, Removing
Adhesive Remover -D 002 000 10- is recommended as a cleaning solution. Follow all safety precautions.
 Caution
When cleaning from vehicle interior out, the window just installed must not be pressed outward.
Paint Surfaces
- First, clean paint surfaces with a dry cloth. Remove residual adhesive with Adhesive Remover -D 002 000 10-.
Plastic Trim
- Allow the adhesive to harden (approximately 1 hour) and then peel it off.
Window Glass, Sealing
- Allow leaky area to dry, and clean it.
- Apply adhesive sealing material to leaking area between window and sheet metal flange and spread.
- Allow the adhesive to harden.
- Perform a leak test.
- Perform visual inspection of vehicle interior.

