Audi Q5: Lower Rear Lid Trim Panel, Removing and Installing
Special tools and workshop equipment required
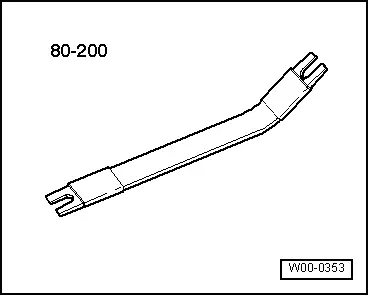
- Pry Lever -80 - 200-
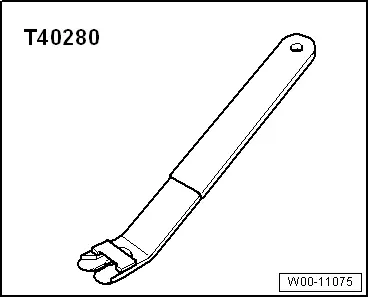
- Omega Clip Tool -T40280-, is needed to remove any clips are that still inside the body.
Removing
- Remove the luggage compartment lamp. Refer to → Electrical Equipment; Rep. Gr.96; Lamps; Overview - Luggage Compartment Lamps.
- If installed, remove the Rear Lid Lock Button In Luggage Compartment -E406-. Refer to → Electrical Equipment; Rep. Gr.96; Controls; Rear Lid Lock Button in Luggage Compartment E406, Removing and Installing.
- Remove the tail lamp covers. Refer to → Chapter "Tail Lamp Cover, Removing and Installing".
- Remove the emergency triangle and its cover. Refer to → Chapter "Emergency Triangle Cover, Removing and Installing".
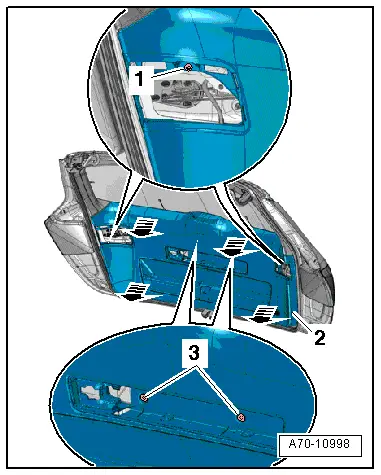
- Remove the bolts -1- and -3-.
- Remove the lower trim -2- from the rear lid -arrows- by using the Pry Lever -80 - 200- to loosen the trim clips out of the rear lid.
- Grab between the trim and the rear lid and disengage the remaining clips.
- Remove the lower rear lid trim panel.
Installing
Install in reverse order of removal. Note the following:
 Note
Note
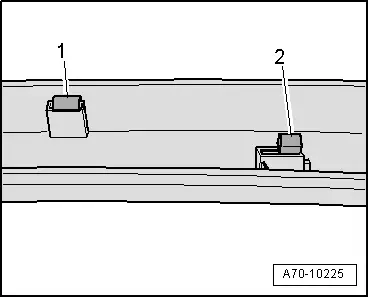
- If the trim clamps -1- remain in the rear lid mounting points, remove them and insert them in the trim.
- Check clamps for damage or deformation, replace if necessary.
- Make sure all the rubber buffers -5- are in the trim.
- First mount the rear lid lower trim -4- onto the centering pins -2- and -3- and press until it engages audibly.
Rear Lid Emergency Release Cover, Removing and Installing
Special tools and workshop equipment required
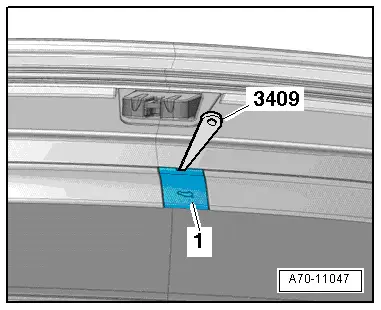
- Trim Removal Wedge -3409-
Removing
- Place the Trim Removal Wedge -3409- on the opening and unclip the emergency release cover -1- from the lower trim panel.
Installing
- Press the emergency release cover until it engages audibly.
Upper Rear Lid Trim Panel, Removing and Installing
Special tools and workshop equipment required
- Pry Lever -80 - 200-
- Omega Clip Tool -T40280-, is needed to remove any clips are that still inside the body.
Removing
- Remove the lower rear lid trim panel. Refer to → Chapter "Lower Rear Lid Trim Panel, Removing and Installing".
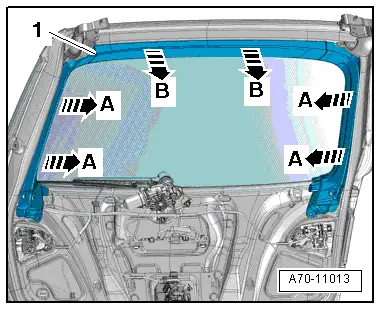
- First unclip the upper trim -1- from the sides of the rear lid -A arrows- using the Pry Lever -80 - 200-.
- Unclip the upper trim using the Pry Lever -80 - 200- from the rear lid -B arrows- and remove.
Installing
Install in reverse order of removal. Note the following:
 Note
Note
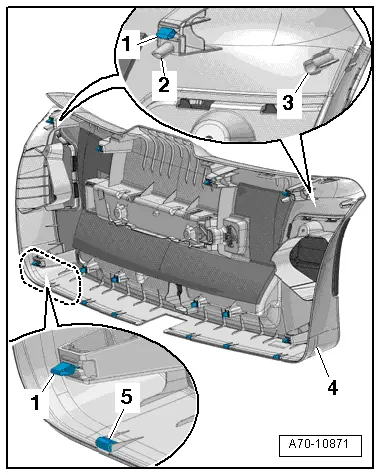
- If the trim clamps -2- remain in the rear lid mounting points, remove them and insert them in the trim.
- Check clamps for damage or deformation, replace if necessary.
- Make sure all the rubber buffers -1- are in the trim.
- Insert the trim panel first behind the side window frame in the rear lid.
- Install the upper rear lid trim first at the top and then along the sides.