Audi Q5: Seat Belts, Checking
Audi Q5 Type 8R (2008 - 2017) Service Manual / Body / Body Interior / General, Technical data / Seat Belts, Checking
 WARNING
After every accident the seat belt system must be inspected systematically! If damage is determined when inspecting the check points, customer must be informed regarding necessity of changing belts.
Inspection Points
- Check the belt webbing. Refer to → Chapter "Seat Belt Webbing, Checking".
- Check the automatic belt retractor (locking function). Refer to → Chapter "Automatic Belt Retractor, Checking".
- Visual inspection of belt buckle. Refer to → Chapter "Seat Belt Latch, Inspecting Visually".
- Belt latch function test. Refer to → Chapter "Seat Belt Latch Function Test".
- Check the seat belt relays and latch tongue. Refer to → Chapter "Seat Belt Relays and Latch Tongue, Checking".
- Check securing components and anchorage points. Refer to → Chapter "Attachments and Attaching Points, Checking After a Collision".
- Check the function of the child seat anchorage for additional child seats (not for the driver safety belt). Refer to → Chapter "Seat Belt for Child Seat, Checking Child Seat Restraint Function, Market-Specific".
 Caution
If customer refuses to have a damaged seat belt replaced, appropriate note should be made in the customer Maintenance booklet.
Seat Belt Webbing, Checking
Procedure
- Pull the belt completely out of the automatic belt retractor or lap belt adjustment tongue.
- Check belt webbing for soiling, wash with mild soap solution if necessary. Refer to the Operating Instructions.
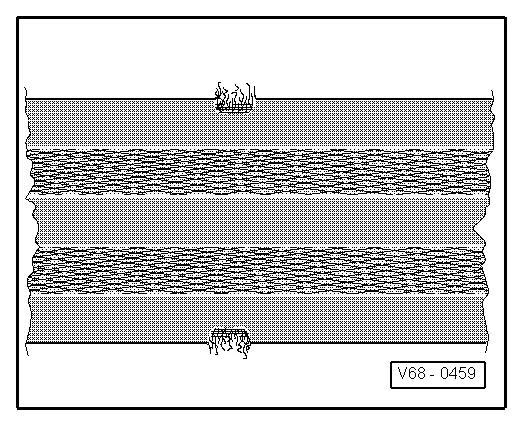
- If one of the types of damage (1 and 2) shown in the following is detected on a vehicle which has been in an accident - seat belt must be replaced completely with belt buckle.
- If damage as illustrated under points 1 or 2 is determined on vehicle which has not been involved in an accident, it is sufficient to replace damaged belt only.
- 1 - Belt webbing cut, torn or chafed.
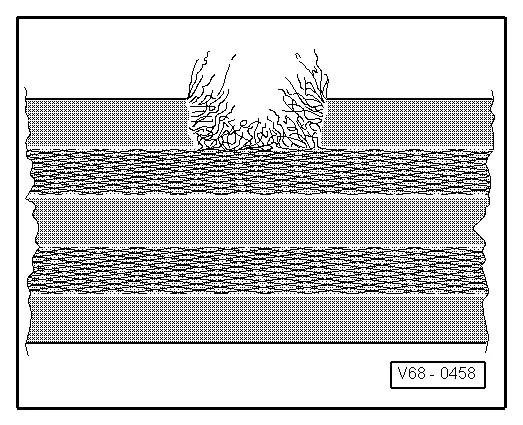
- 2 - Webbing loops on belt edge torn.