Audi Q5: Trailer Hitch
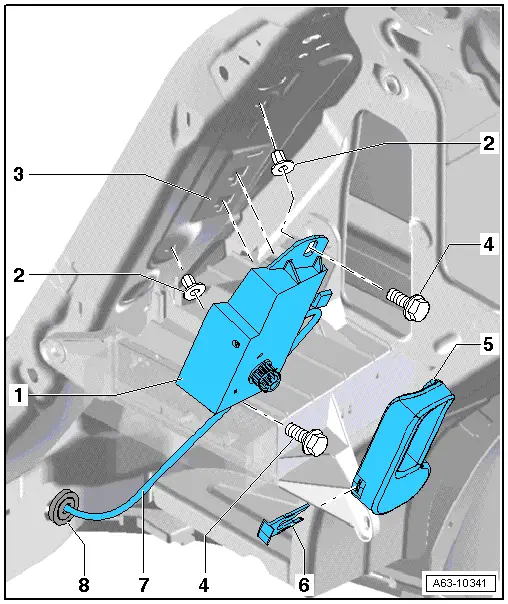
Overview - Hand Actuator Bracket

1 - Bracket for the Trailer Hitch Hand Actuator
- Removing and installing. Refer to → Chapter "Hand Actuator Bracket, Removing and Installing".
2 - Internally Threaded Pop Rivet
3 - "D-Pillar"
4 - Bolt
- 8 Nm
5 - Release Lever
- For unlocking the trailer hitch
6 - Clip
7 - Cable
- It is necessary to install the grommet correctly into the rear lid end piece
8 - Grommet
Trailer Hitch, Removing and Installing
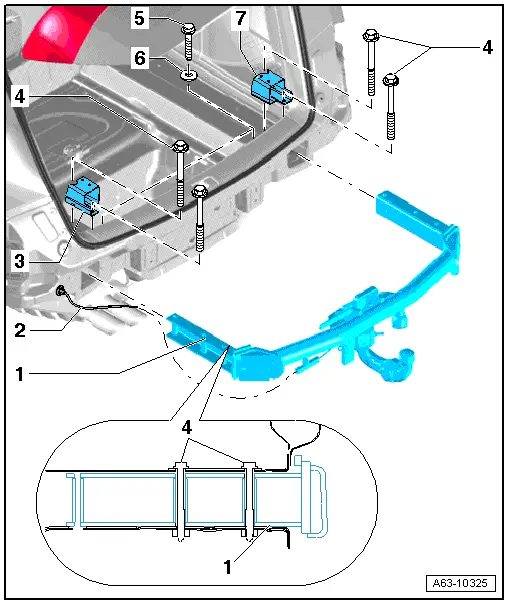
1 - Trailer Hitch with Crossmember
- Removing:
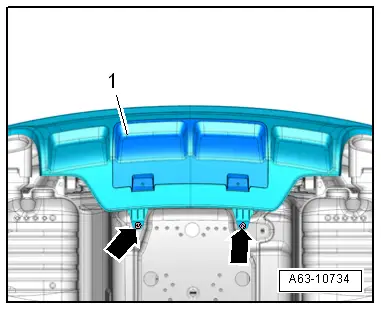
- Remove the rear bumper cover. Refer to → Chapter "Bumper Cover, Removing and Installing".
- Remove the tie downs. Refer to → Body Interior; Rep. Gr.70; Luggage Compartment Trim Panels; Tie Down, Removing and Installing.
- Loosen the left and right luggage compartment side trim panel. Refer to → Body Interior; Rep. Gr.70; Luggage Compartment Trim Panels; Luggage Compartment Side Trim Panel, Removing and Installing.
- Disconnecting the central connector inside the luggage compartment. Refer to → Fig. "Disconnect the Central Connector for the Trailer Hitch Inside the Luggage Compartment".
- Disengaging the cable for unlocking the trailer hitch from the bracket. Refer to → Fig. "Cable for Unlocking the Trailer Hitch"
- Remove the bolts -3- and pull out the trailer hitch to the rear.
2 - Release Cable
- When installing, be sure to push the grommet correctly into the rear lid end piece.
3 - Left Console
4 - Bolt
- 60 Nm
5 - Bolt
- 60 Nm
6 - Washer
7 - Right Console
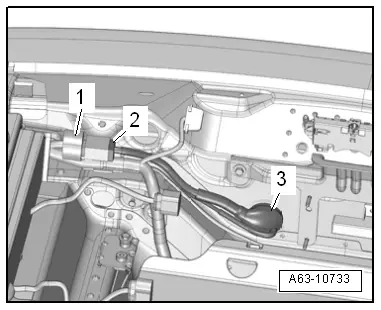
Disconnect the Central Connector for the Trailer Hitch Inside the Luggage Compartment
- Push back the foam piece -1- and disconnect the central connector -2-.
- Press the grommet -3- outward.
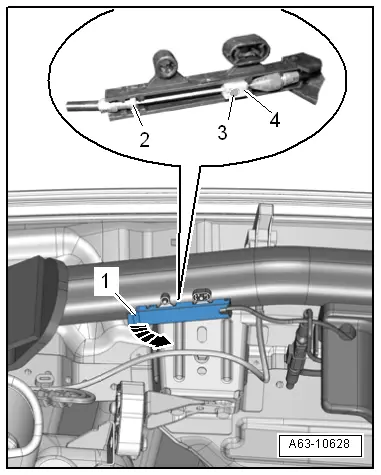
Cable for Unlocking the Trailer Hitch
- Unlock the retainers and open the cover -1--arrow-.
- Remove the cable bracket -2- from the cable mount.
- Disengage the cable nipple -3- from the mount -4-.
Hand Actuator Bracket, Removing and Installing
Removing
- Remove the bolts -arrows-.
- Remove the cover -1- for the trailer hitch. Refer to the Owner's Manual.
- Remove the cable bracket mount from the threaded pins.
- Unlock the retainers and open the cover -1--arrow-.
- Remove the cable bracket -2- from the cable mount.
- Disengage the cable nipple -3- from the mount -4-.
- Push the grommet toward the inside.
 Note
Note
It is necessary to remove the rear bumper cover if is not possible to disengage the cable as described. Refer to → Chapter "Bumper Cover, Removing and Installing".

- Open the cover in the luggage compartment side trim panel.
- Remove the vehicle tools, loosen the washer and remove the mount for the vehicle tools.
- Pull off the clip -6- and remove the lever -5-.
- Disconnect the connector.
- Remove the bolts -4-.
- Push the bracket -1- for the trailer hitch hand actuator slightly upward and remove it.
- This disengages the brackets from the body -3-.
- Remove the bracket with the cable -7- and the grommet -8-.
Installing
Install in reverse order of removal.
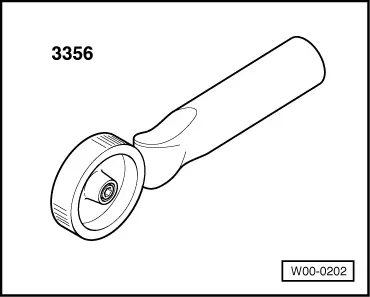
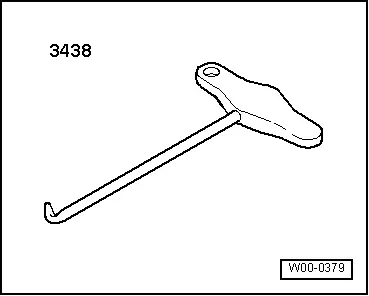
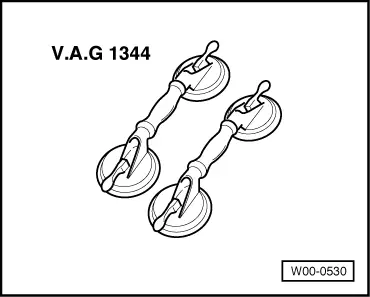
Special Tools
Special tools and workshop equipment required
- Roller -3356-
- T-Handle Hook -3438-
- Double Suction Lifter -VAG1344-
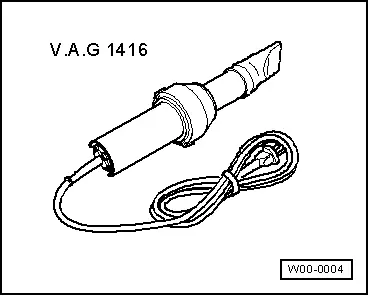
- Hot Air Blower -VAG1416-
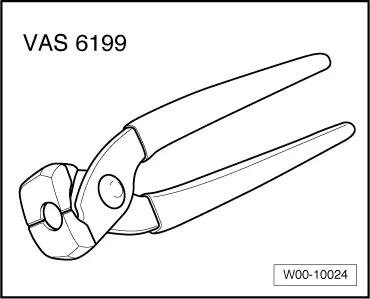
- Locking Pliers -VAS6199-
Revision History
DRUCK NUMBER: A005Q500521