Audi Q5: Cover and Cushion, Separating
Seat Pan Cover and Cushion, Separating
Special tools and workshop equipment required
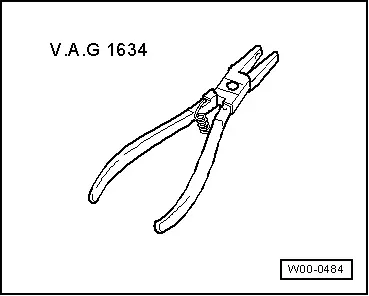
- Upholstery Clip Pliers -VAG1634-
Removing
- Remove the bench seat. Refer to → Chapter "Seat Bench/Single Seat, Removing and Installing".
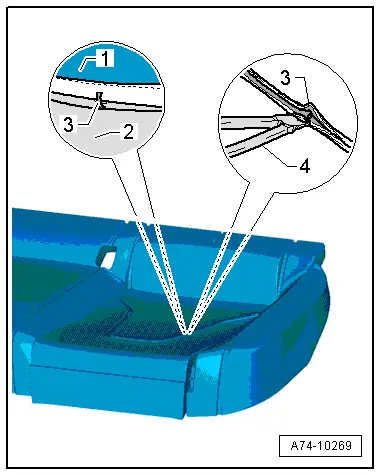
- Cut through the clips -3- with pliers -4-.
- Remove the cover -1- from the cushion -2-.
Installing
Install in reverse order of removal. Note the following:
- Make sure the contour strips fit correctly and the cover is not wrinkled.
- Use Upholstery Clip Pliers -VAG1634- to install the new upholstery clips.
Backrest Cover and Cushion, Separating
 Note
Note
Removal and installation of left 2/3 rear seat backrest and the right 1/3 rear seat backrest is identical.
Special tools and workshop equipment required
- Upholstery Clip Pliers -VAG1634-
Removing
- Remove the cover and the cushion for the left two third rear seat backrest:
- → Chapter "Backrest Cover and Padding without a Pass-Through, Removing and Installing"
- → Chapter "Backrest Cover and Padding with Pass-Through, Removing and Installing"
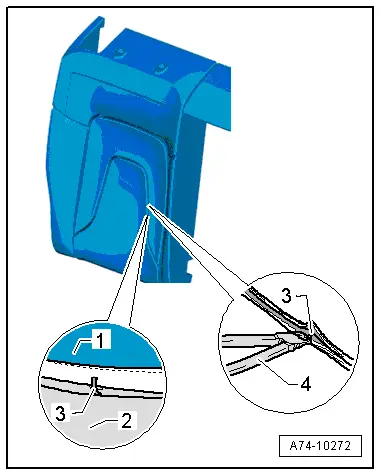
- Cut through the upholstery clips -3- using pliers -4-.
- Remove the cover -1- from the cushion -2-.
Installing
Install in reverse order of removal. Note the following:
- Make sure the contour strips fit correctly and the cover is not wrinkled.
- Use Upholstery Clip Pliers -VAG1634- to install the new upholstery clips.
Headrest Cover and Cushion, Removing and Installing
 Caution
- It is only possible to replace the cover on the headrest with a leather cover. It is not possible to replace a fabric headrest cover because the cover is filled with foam and also serves as the casing for the upholstery.
- The headrest support is built into the upholstery. Both components are attached to each other and cannot be separated.
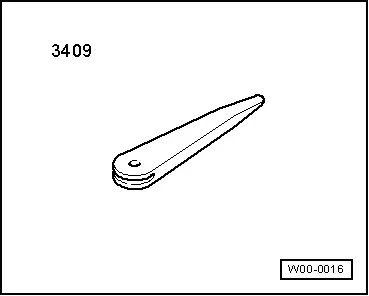
Special tools and workshop equipment required
- Trim Removal Wedge -3409-
Removing
- Remove the rear headrests. Refer to → Chapter "Headrest, Removing and Installing".
- Open the zipper by inserting the Trim Removal Wedge -3409- between the zipper and the cover.
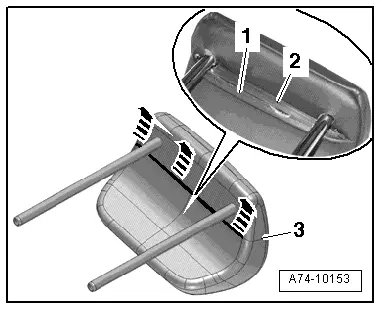
- Tension the lower U-channel -2-.
- Remove the upper cover with the flat channel -1- out of the lower U-channel -arrows-.
 Note
Note
The cover must be completely open to remove the upholstery.
- Remove the cover -3- from the support with the upholstery.
Installing
- Install the cover -3-.
- Position the cover and slide it correctly over the support with cushion.
- Close the zipper while installing the upper flat channel -1-.
- Push the edge of the cover with the flat channel into the U-channel -3-.
- After closing the zipper with a needle or pointed tool, line up the cover the strip.
- Make sure the cover lies on the upholstery without any wrinkles and without seam markings.
Install in reverse order of removal.
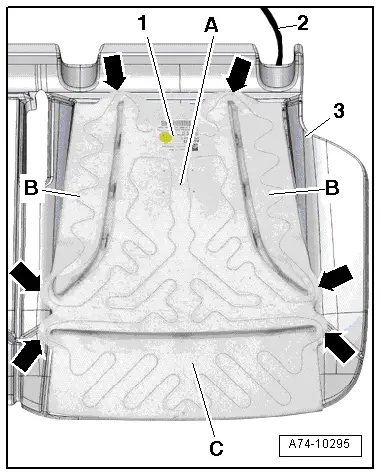
Seat Heating Element, Removing and Installing
Removing
- Disconnect cover from upholstery. Refer to → Chapter "Seat Pan Cover and Cushion, Separating".
- Cut the electrical wire -1- off directly at the old backrest heating element -2-.
 Note
Note
- The old seat heating element remains on the upholstery -3- and the new seat heating element is bonded over it.
- Ignore -A, B and C- and -arrows-.
Installing
- Align new heating element on backrest cushion.
 Caution
- Make sure the new heating element is affixed to the old heating element.
- Remove the protective foil off the heating element in the affixing sequence.
- When removing the protective film, make sure the heating element is not damaged and that it is attached without wrinkles.
- Bond the individual areas of the heating element in the sequence -A, B and C-.
- Route the connecting wires to the individual heating surfaces in the base of the gaps -arrows-.
- Pull electrical wire -2- through the slit in cushion -3-.
Install in reverse order of removal.
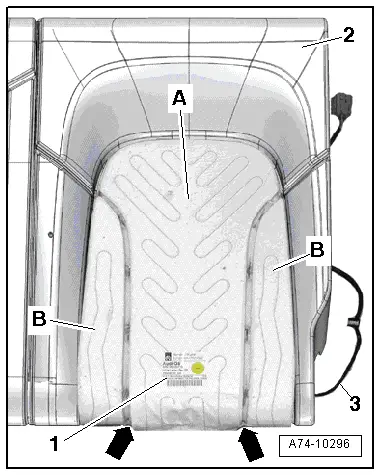
Backrest Heating Element, Removing and Installing
Removing
- Disconnect cover from upholstery. Refer to → Chapter "Backrest Cover and Cushion, Separating".
- Cut the electrical wire -1- off directly at the old backrest heating element -3-.
 Note
Note
- The old seat heating element remains on the upholstery -2- and the new seat heating element is bonded over it.
- Ignore -A through D- and -arrows-.
Installing
- Align new heating element on backrest cushion.
 Caution
- Make sure the new heating element is affixed to the old heating element.
- Remove the protective foil off the heating element in the affixing sequence.
- When removing the protective film, make sure the heating element is not damaged and that it is attached without wrinkles.
- Bond the individual areas of the heating element in the sequence -A and B-.
- Route the connecting wires to the individual heating surfaces in the base of the gaps -arrows-.
- Pull electrical wire -3- through the slit in cushion -2-.
Install in reverse order of removal.
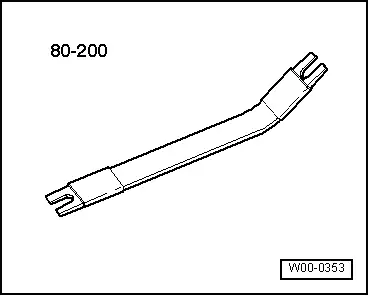
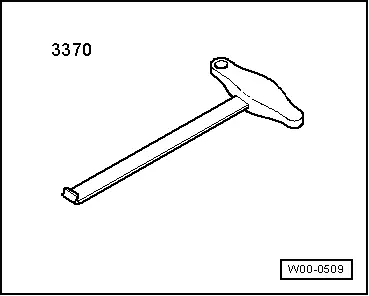
Special Tools
- Pry Lever -80 - 200-
- Backrest Panel Tool -3370-
- Trim Removal Wedge -3409-
- Upholstery Clip Pliers -VAG1634-
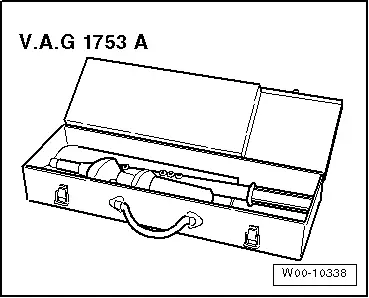
- Pop Rivet Pliers -VAG1753A-
Revision History
DRUCK NUMBER: A005Q502321